How To Prep Before Self Tanning
Preparing to Fake Tan
Fake tanning is an art. Once you’ve mastered it there really is minimal chance of error! A major part of tanning that is so incredibly crucial to having a flawless, error free tan is Preparation.

Start with Exfoliation
We would advise that you have zero to as much minimal tan as possible before starting a fresh application. See it as a nail salon, the beautician wouldn’t apply a nude nail Polish over the top over a black nail Polish. It’s the same in the tanning game, you just wouldn’t do it!
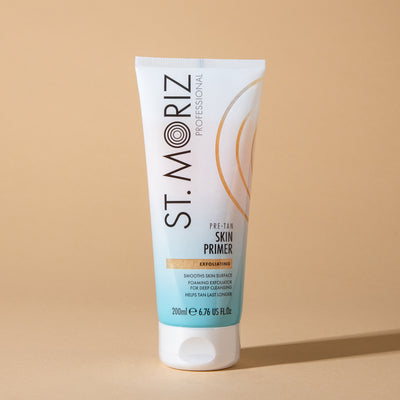
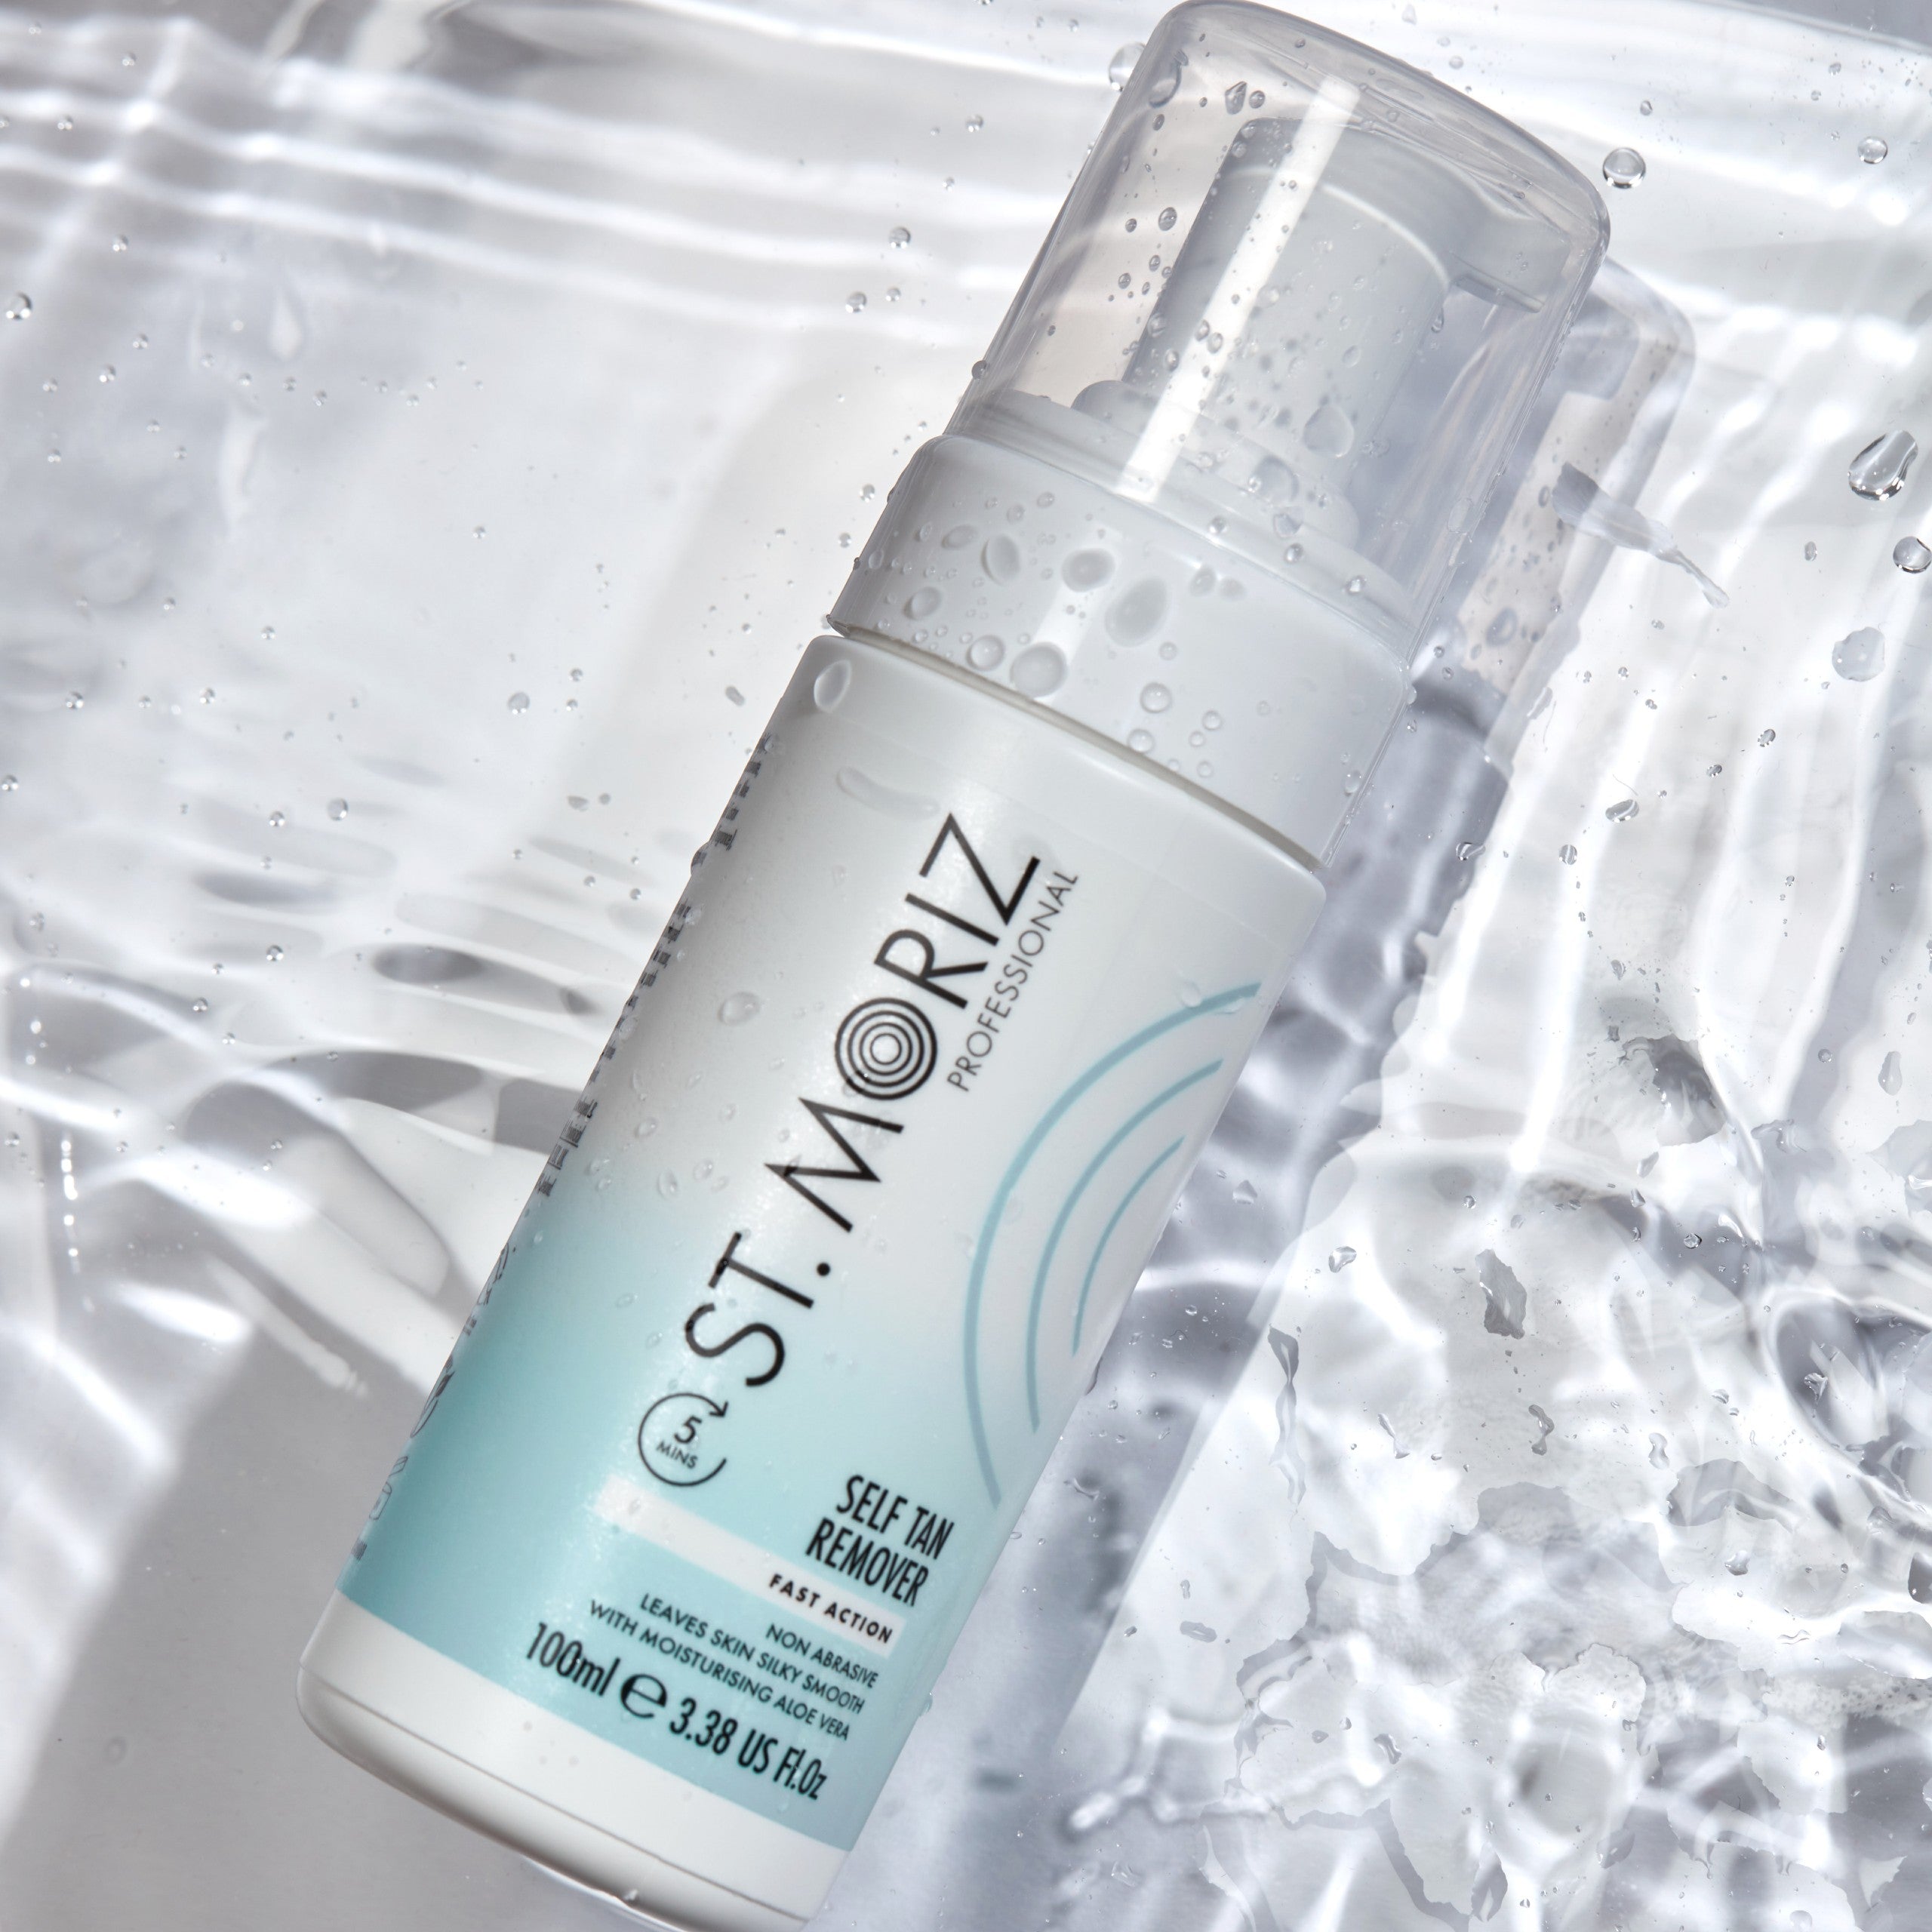
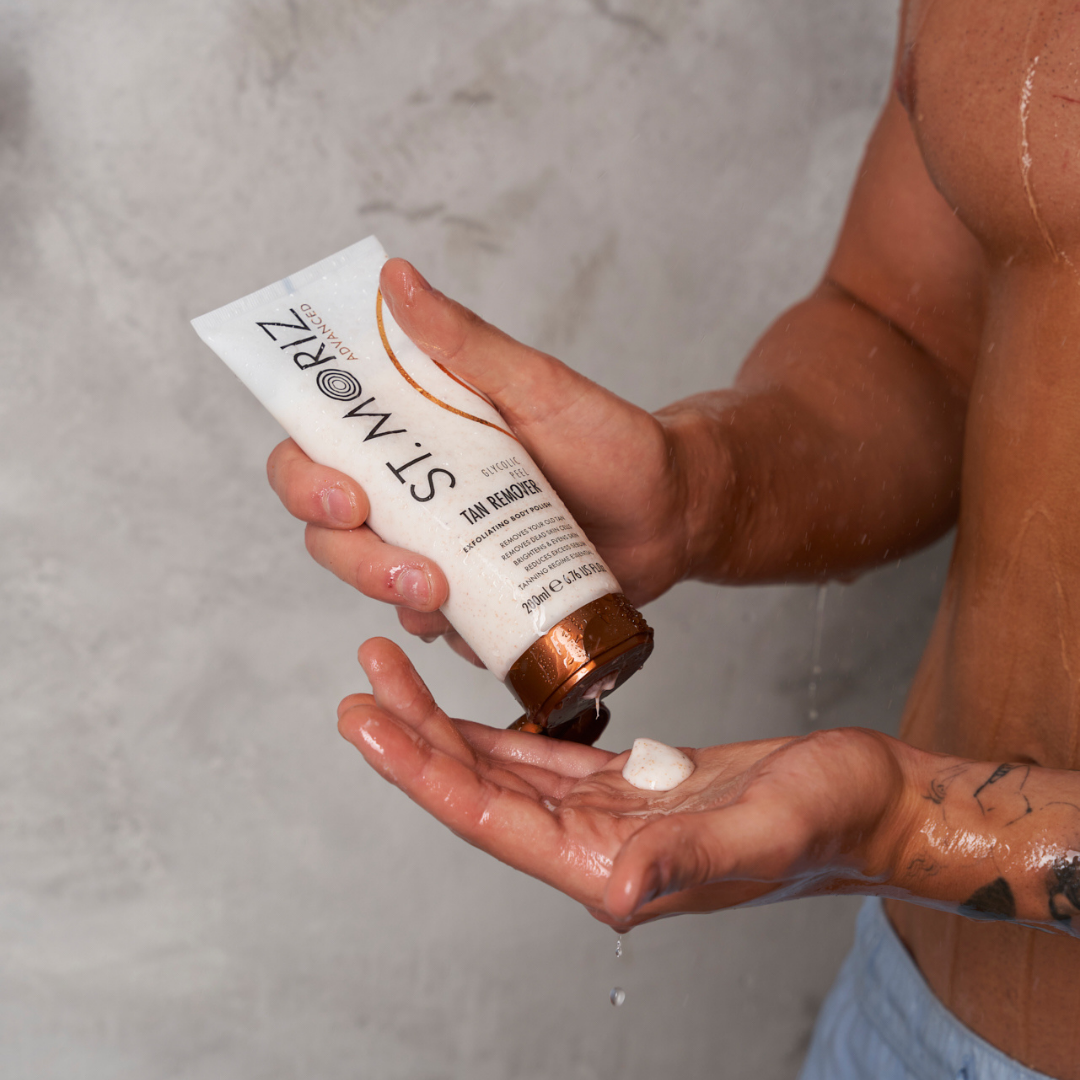
Start by exfoliating all areas, head to toe. We have a great product for this called Glycolic Peel Tan Remover. It will remove all dead skin cells and any old tan. If you use this product, or any of our other tan removers, we highly recommend also using exfoliating gloves. This helps speed up the process and ensures your skin is ready to glow.
Shave In Advance
If you wish to shave before tanning, then we would recommend you do this 16 - 24 hours before you apply your tan. It’s important that you use this time in between tanning to wait so that you all pores can close, this will prevent the ‘speckled’ effect some people experience after tanning.
Moisturise Dry Areas
When it’s time to apply your fake tan we recommend moisturising any dry areas on your body. For example your elbows, ankles, feet, and hands. If you suffer with dry skin we would recommend using a thin layer of moisturiser, which is oil free so that this prevents unwanted tan grabbing to those areas.
Extra Tip
When tanning always apply from the feet upwards, this will help the application process and prevent transfer from limbs to untanned areas. For example if you tan your stomach before tanning your thigh, you then transfer tan from your stomach to your thigh when bending to tan the lower part of your leg.